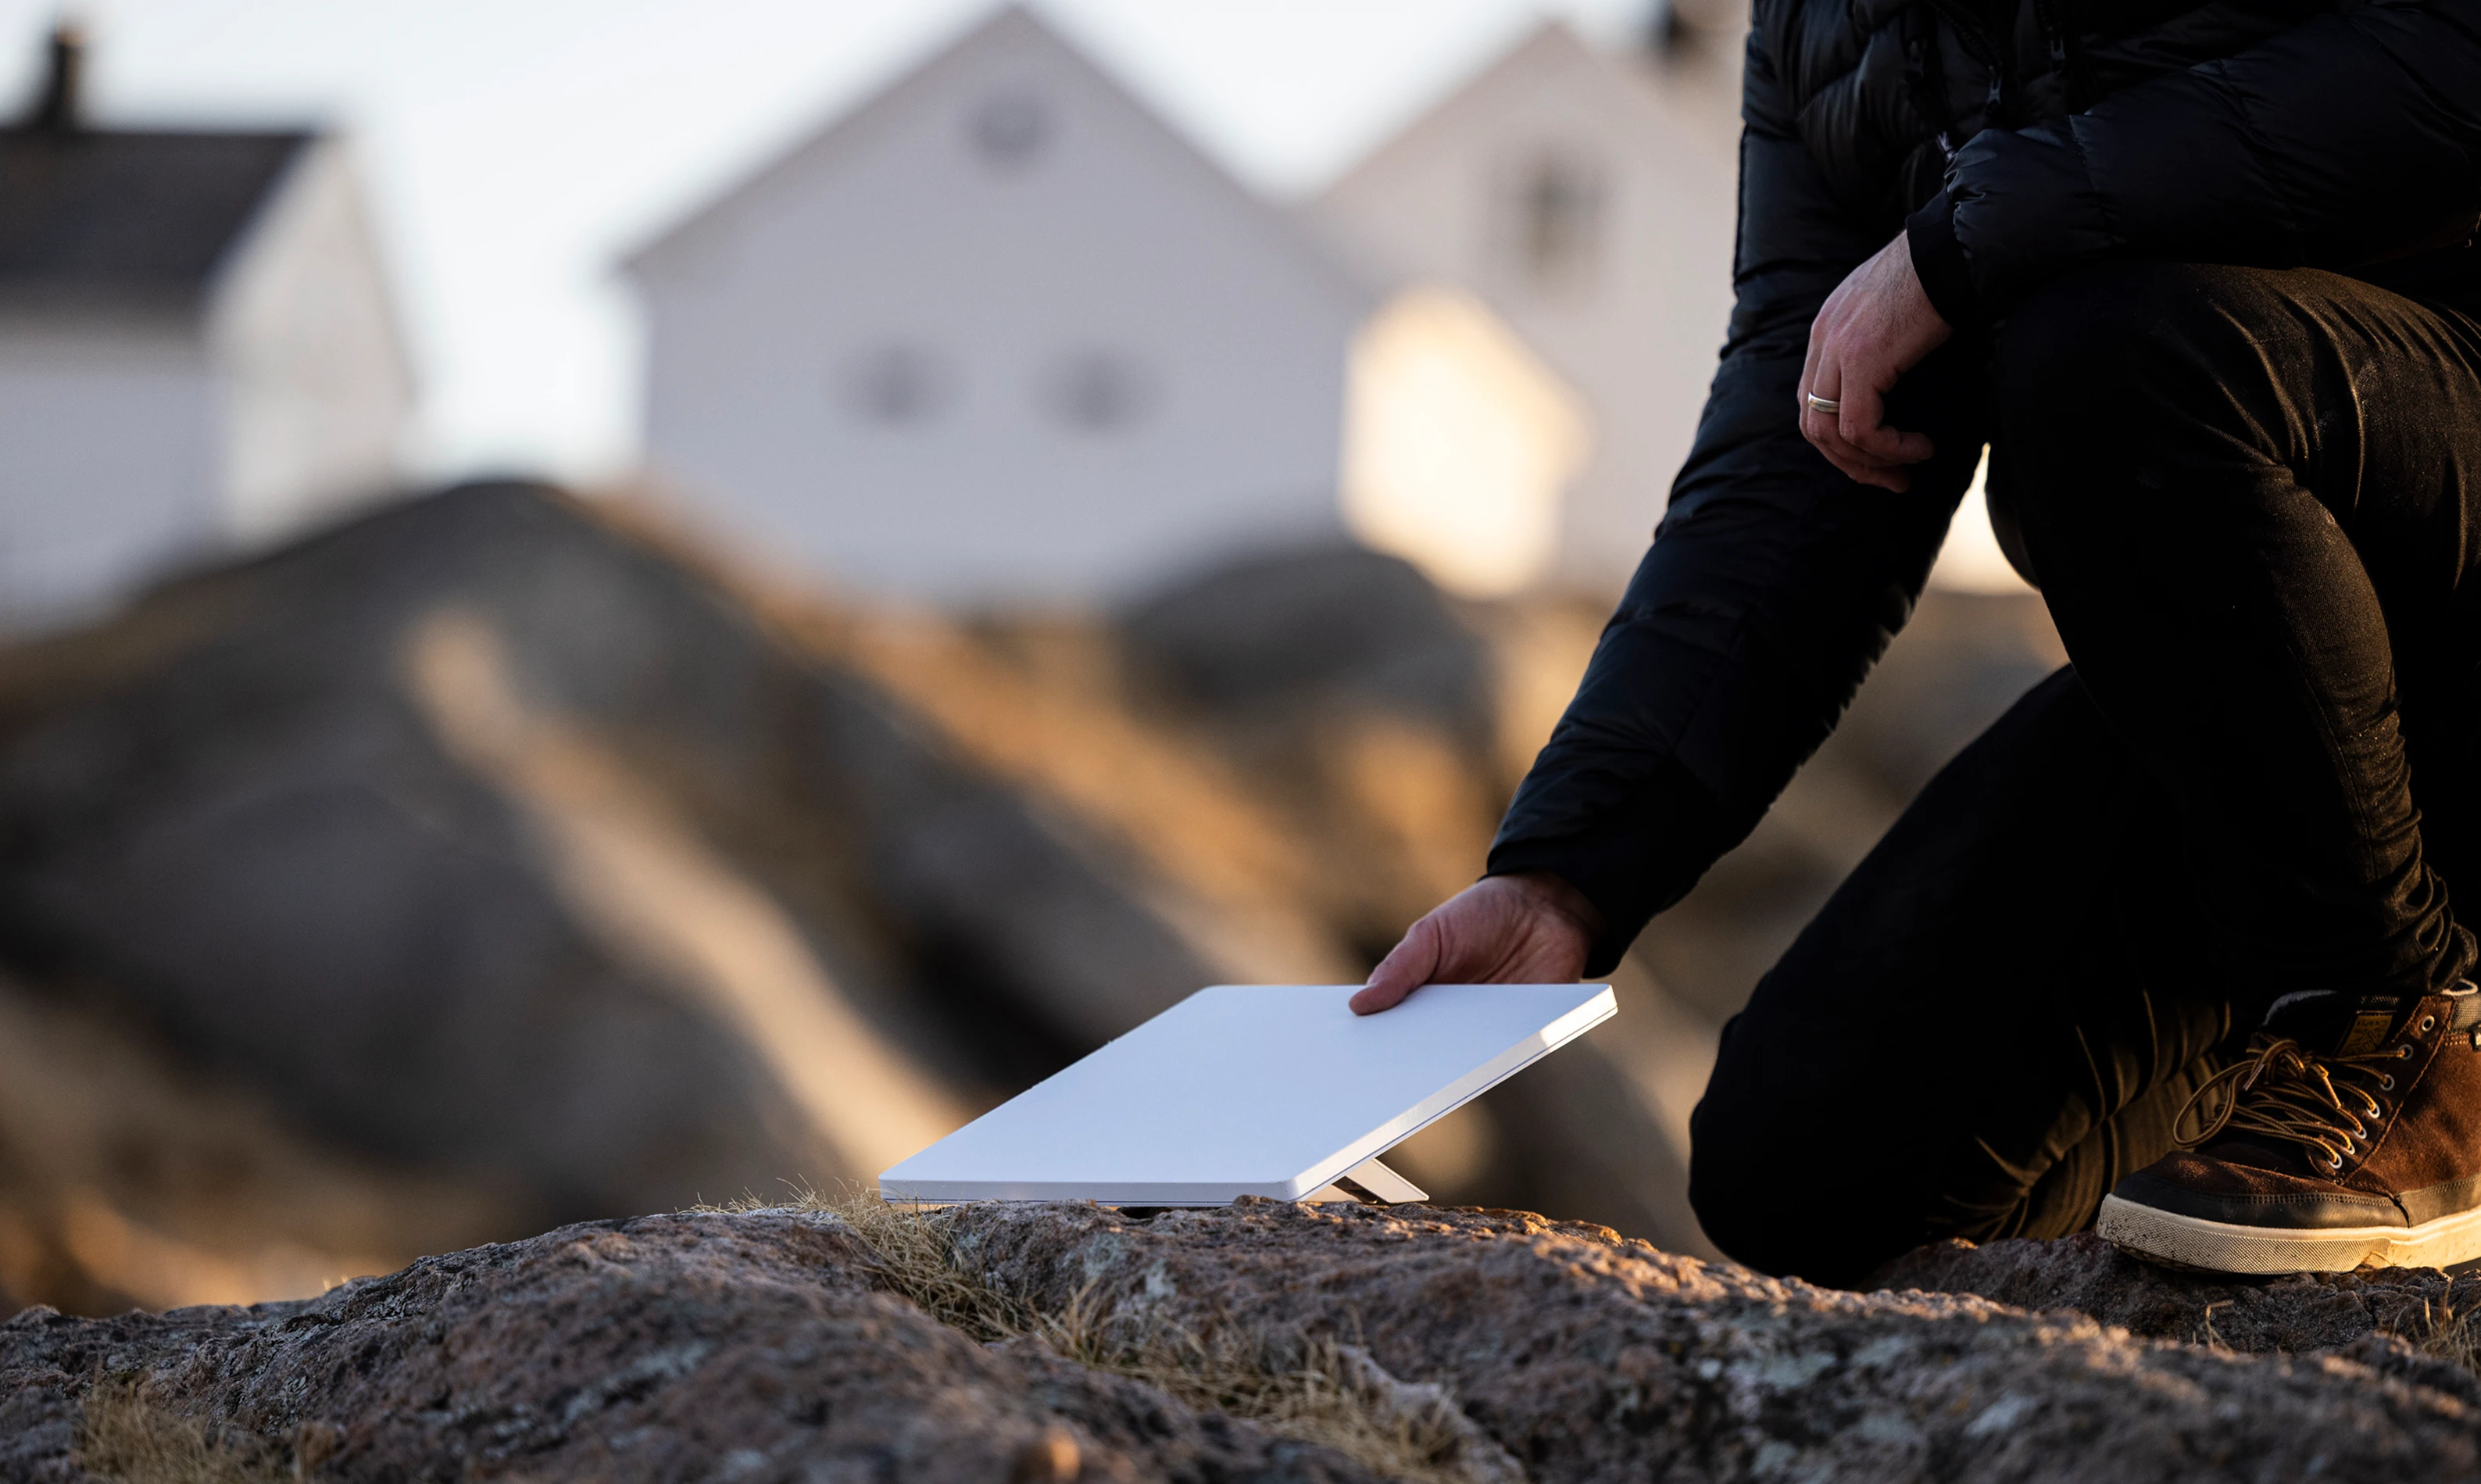
Starlink Installation & Hardware Setup Guide
Setting up your Starlink system is designed to be a straightforward DIY process, but understanding exactly what you receive in the box and where you can mount it will help you avoid delays before installation even begins. All standard kits include the essential components required for operation: the dish antenna, the router, and the necessary cables.
While both Standard and Mini models are built for residential use, they serve different physical environments. The Standard model is generally suited for fixed locations with larger mounting surfaces, whereas the Mini is optimised for smaller spaces or vehicles where weight and wind load are primary concerns. Regardless of the model chosen, successful installation relies on adhering to local regulations and ensuring your site meets specific structural requirements.
What's Included in Your Kit?
To reduce hesitation regarding setup complexity, it is important to know exactly what arrives at your door. Every Starlink kit provided for Australian residential service includes:
- The Dish: The primary antenna that connects directly to the satellite network.
- The Router: The device that distributes internet connectivity throughout your home or vehicle.
- Cabling: All necessary power and data cables required to connect the dish to the router.
Note on Mounting Hardware: Specific mounting brackets and surface-mount fasteners may vary depending on whether you have a Standard or Mini model. While the core components are included, specific mounting brackets and surface-mount fasteners may vary depending on whether you have a Standard or Mini model. The kit does not always include every type of screw or bracket needed for every surface (e.g., brick, timber, metal). If your chosen location requires specialised fixings that differ from standard screws, you should verify the specific mounting requirements for your model and source any additional fasteners separately to ensure a secure installation.

Choosing Between Standard and Mini Models
Deciding between the Standard 4 and Mini models often comes down to where you intend to place the unit. Both kits contain the dish, router, and cables, but their physical characteristics dictate different use cases.
| Feature | Starlink Standard Model | Starlink Mini Model |
|---|---|---|
| Primary Use Case | Fixed residential locations (homes, cabins). | Compact spaces or mobile applications. |
| Mounting Surface | Requires a larger, stable surface area for the dish and mount. | Designed to fit on smaller surfaces like car roofs or compact walls. |
| Weight & Size | Heavier and larger; requires robust mounting points. | Lightweight and compact; easier to transport and install in tight spots. |
Note: Specific hardware differences regarding included accessories (such as specific brackets) are not explicitly detailed in current documentation, so always check the official product specifications for your specific model before purchasing additional mounts.
Installation Requirements & Compliance
Before you begin unboxing, ensure your installation site is legally and physically compliant. Starlink Australia requires customers to adhere to all applicable building codes and zoning ordinances.
- Permits: You are responsible for obtaining any necessary permits required by your local council or authority before mounting the dish.
- Structural Integrity: Ensure your chosen surface can support the weight of the dish, especially in windy conditions. The Mini model is lighter, but the Standard model requires a sturdy mount to prevent damage during storms.
- Clearance: Maintain adequate clearance from trees and other obstructions that could block the line of sight to satellites.
Usage Restrictions: In-Motion Eligibility
A common question regarding Starlink setup is whether it can be used while moving (e.g., in a caravan or boat). Generally, installing a Starlink kit on a moving vehicle or vessel is prohibited unless you have purchased a specific model designated for in-motion use.
Currently, the Standard and Mini kits are primarily intended for fixed locations. If your primary requirement is internet connectivity while travelling, you must verify if a specific "in-motion" model is available for purchase in your area before attempting to mount a standard kit on a vehicle. Attempting to use a non-designated kit on a moving vehicle may void your service agreement or result in support refusal.
Plan Commitments and Costs
When purchasing hardware, you must also consider the associated service plan terms.
- Residential Plans: The Residential plan offers speeds of up to 100 Mbps with a minimum monthly cost of A$75.
- Commitment Terms: Service agreements require a minimum subscription commitment of either 12 or 24 months.
- Plan Changes: If you are on a 12-month Residential plan and wish to change your service, you must contact Customer Support. This action incurs a pro-rated Change Fee for the month of the change. Please note that the specific monetary value of this fee is not publicly listed in standard documentation.
- Rental Restrictions: Kits may only be rented for Residential service plans; Business customers on rental options generally cannot change their service plan.
Getting Support After Installation
Once your system is up and running, you can access help through the following channels:
- Self-Serve Help: Browse common questions in the Starlink Help Center for troubleshooting guides.
- Phone Support: Call +61 1800 953 804 during business hours (9am–6pm WIB).
- Support Scope: Please be aware that aftersales support is limited to standard commercial service, and Starlink reserves the right to refuse technical support at its sole discretion.
Ready to Get Connected?
If you have verified your location's eligibility, secured any necessary permits, and confirmed which model suits your space best, you are ready to proceed. The setup process is designed for simplicity once the hardware arrives.
Explore the main guide
For the broader service overview, current offer and related guidance, visit our Starlink.